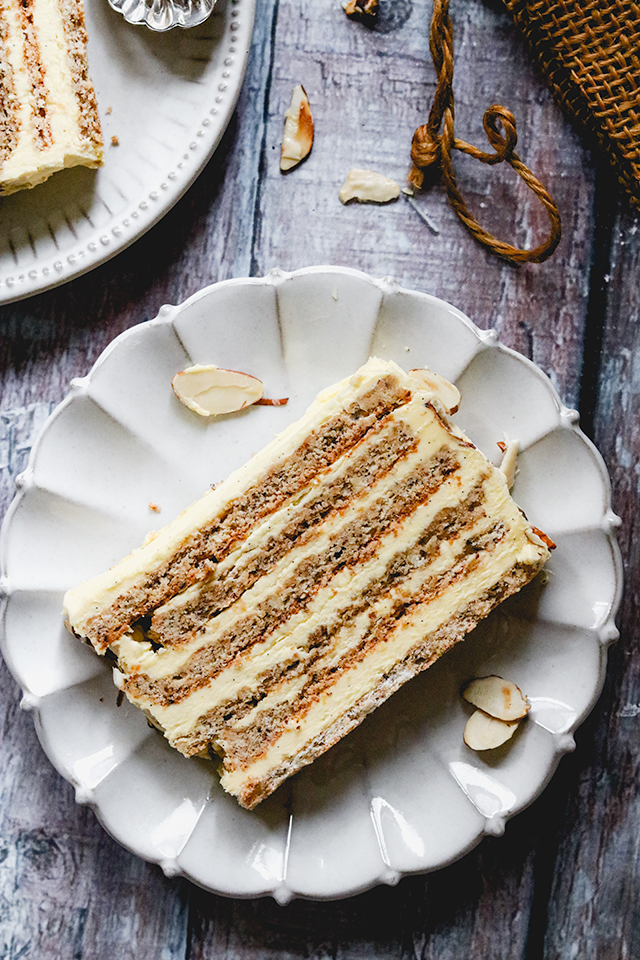
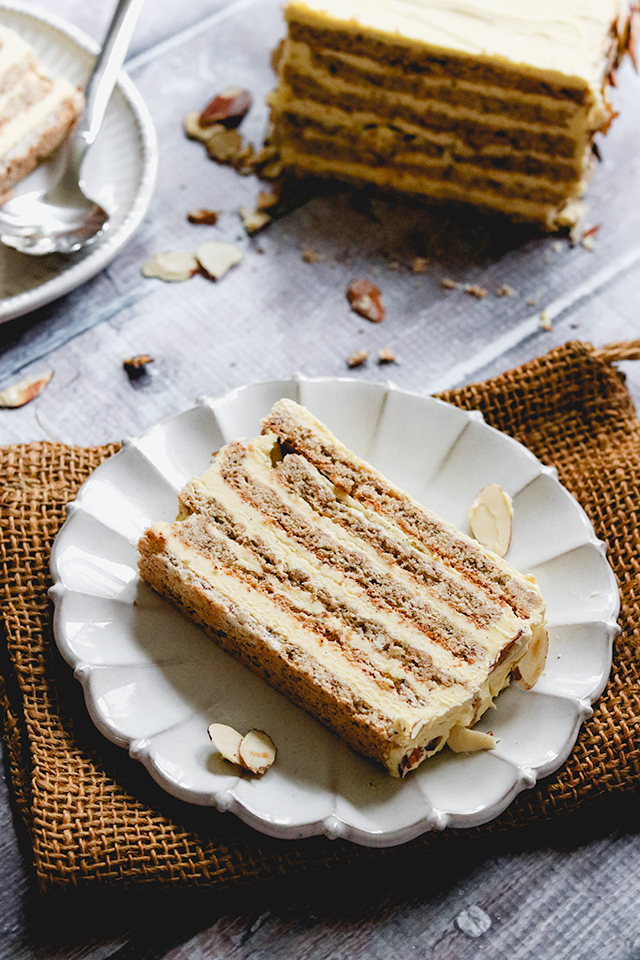
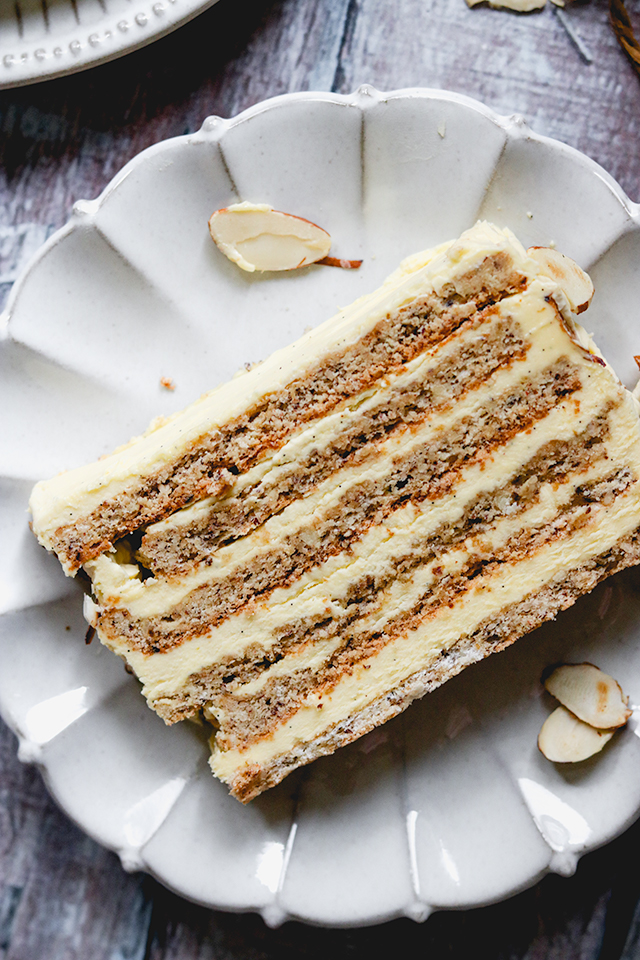
This hazelnut vanilla layer cake is a traditional Hungarian cake also known as Esterhazy Schnitten or Esterhazy Torte. It is incidentally gluten-free and filled with six layers of hazelnut meringue-based cake interspersed with a custardy vanilla buttercream.
There are the times when all you can handle in life (and baking) is a batch of one-bowl brownies…
…and then there are those moments of insanity when you think YES I WILL TACKLE A SIX LAYER CAKE THAT WILL REQUIRE ME TO DIRTY EVERY BAKING APPLIANCE IN MY KITCHEN AND THEN SOME.
This cake is for the latter.
(And it is so worth it.)
To be fair, I’m exaggerating a little (but only a little) because while this cake looks impressive and like you need a degree in pastry chef-ing to make it, it is actually much much easier than it seems. You will dirty quite a few mixing bowls and maybe even a food processor in the process, but the end result is so spectacular that you won’t even be mad because you’ll be too busy eating.
The recipe is from Michelle Polzine’s Baking At The 20th Century Cafe – a cookbook full of iconic European desserts that she served at her (tragically) now shuttered 20th Century Cafe in San Francisco. The recipes range from sweet to savory and with varying levels of complexity, from her insane ten-layered honey cake to simple shortbread cookies.
Basically, there is a bake for everyone and even the more seemingly-complicated recipes (such as this) are described so clearly and simply that they are actually totally doable in a home kitchen.
The Esterhazy Schnitten (or Torte, if it is round) is a classic Hungarian bake that was invented in the late 19th century by Budapest confectioners. In its original form, it was made with alternating layers of almond dacquoise interspersed with a cognac or vanilla-infused buttercream.
This version diverges from tradition in that the cake layers are made from ground toasted hazelnuts in place of almonds, offering a more rich and deeply nutty flavor. Polzine also includes a dash of espresso powder into the mix, which brings out their intensity even more.
If you’ve never made dacquoise, it is a naturally gluten-free meringue-based cake very similar in texture to macaron. The cake layers bake up to a crisp texture but after sitting with their buttercream for a bit they soften up (similar to how macarons soften to their ideal consistency after resting, filled, in the fridge overnight).
While baking six layers may seem daunting, let me reassure you that these are actually baked in TWO quarter sheet pans, which are then each cut into three pieces after baking. Having a ruler helps to make sure the pieces are even, but you can always trim them after assembly.
The buttercream is one I hadn’t tackled before this and is most similar to a German buttercream. You start by making a custard or pastry cream using egg yolks, vanilla-infused sugar, and vanilla-infused half and half. Once the pastry cream has cooled, butter is beaten into it to make a silky smooth but incredibly rich and vanilla-forward frosting. It is very buttery, but with a more subtle sweetness, that lets the vanilla flavor shine and compliments the nut-based cake perfectly.
One important aspect of making this cake is TIME MANAGEMENT. There are a few rest steps in here, so it is important to read through the recipe first before you make it and plan accordingly. I am guilty of not doing this all of the time (and then ending up mad that I can’t complete a recipe in the time that I’d planned), but you should not be like me.
My advice is to start with making your cake layers and then begin to make the frosting while the cake is baking since the vanilla needs time to be infused into the half and half and the pastry cream component needs to cool completely before it can be turned into buttercream.
Finally, the assembled cake needs at least a one hour rest in the fridge (though is honestly better in texture if left for longer). This is actually great because it means you can make it ahead – a very desirable attribute during a busy holiday baking season!
- 1¼ cups (187 g) hazelnuts, toasted and cooled (or an equivalent weight of hazelnut flour)
- 2½ tbsp (12 g) powdered sugar
- 2½ tsp tapioca flour
- 1 tsp ground espresso
- ½ tsp kosher salt
- 5 large egg whites, room temperature (reserve the yolks for the buttercream)
- pinch of cream of tartar
- ½ cup (100 g) sugar
- 1 vanilla bean, split lengthwise, seeds scraped out, pod and seeds reserved
- ¼ cup + 2 tbsp (75 g) sugar
- ½ cup (118 ml) half and half
- 5 large egg yolks
- scant ¼ tsp kosher salt
- ½ lb (226 g) unsalted butter, slightly soft but still cool
- ¼ cup (43 g) sliced almonds, lightly toasted and cooled
- Heat oven to 350F. Line two quarter sheet pans with parchment paper and set aside.
- Combine the hazelnuts, powdered sugar, tapioca flour, espresso, and salt in the bowl of a food processor. Process until the nuts are very finely ground. Transfer to a bowl and set aside. (If using hazelnut flour, just whisk all of these ingredients together in a large bowl).
- Whip the egg whites in the bowl of a stand mixer fitted with the whisk attachment on medium speed. Once foamy, add the cream of tartar. With the mixer still running, slowly pour in the sugar. Once all of the sugar has been added, increase the speed to medium-high and whip until the egg whites hold stiff, glossy peaks.
- Sprinkle a third of the hazelnut mixture evenly over the egg whites and fold in gently. Add the remaining hazelnut mixture in two additions. After the last addition, fold gently until the mixture is well combined and homogeneous. Divide the batter evenly among the prepared pans and spread it into an even layer with an offset spatula.
- Bake for 20-22 minutes, or until the cakes are golden and dry to the touch. Remove from the oven and run a sharp knife around the edges of the pan. Invert each cake onto a sheet of parchment paper. Lift off the hot pans and peel off the parchment while the cakes are still hot. Allow to cool completely.
- Combine the vanilla pod and seeds with 2 tbsp (25 g) of the sugar in a small bowl. Mix to combine, using the sugar to scrape out any remaining seeds from the vanilla pod.
- In a medium saucepan, combine the vanilla sugar, vanilla pod, and half and half over medium heat. Cook just until small bubbles start to appear at the edges of the pan. Cover, remove from the heat. and let sit for 30 minutes.
- Once the vanilla milk has cooled, place the egg yolks, remaining sugar, and salt in the bowl of a stand mixer fitted with the whisk attachment. Beat on high speed for 5 minutes, or until light in color and thickened.
- Meanwhile, reheat the vanilla milk, squeezing as much vanilla from the pod as possible before discarding the pod.
- Turn the mixer down to low and slowly stream in the hot vanilla milk with the mixer still running. Transfer the egg yolk-milk mixture to the saucepan and wash the mixer bowl.
- Return the saucepan to medium-low heat and then cook, whisking constantly, until the mixture starts bubbling. Remove from the heat immediately and keep whisking to finish cooking the custard with the remaining heat from the pan. Scrape the custard through a fine-mesh sieve into the mixer bowl. Whip on high speed until completely cooled. Transfer to a medium bowl and set aside.
- Place the butter in the mixer bowl (no need to clean it first) and beat it on medium speed with the paddle attachment for 6 minutes. Decrease the speed to low and pour in the custard in 3-4 additions, only adding in the next once the last one has been completely incorporated. Set aside 2 tbsp of the buttercream.
- Invert the cake layers so that the tops are facing up. Divide the buttercream equally between the two layers and spread into an even layer on top of the cakes, making sure it comes all the way to the edges.
- Carefully slice each layer crosswise into 3 equal-sized pieces. Carefully stack the pieces on top of each other, lining up the cut edges, to form a 6 layer cake. Chill until firm, about 1 hour.
- Trim the short ends of the cakes to show all of the layers. Frost the long sides of the cake with the reserved buttercream. Place the toasted almonds around the edges of the cake. Serve at cool room temperature.








I’ve never attempted anything over 3 layers. Nicely done! It looks beautiful and delicious.
Wow! Very impressive.
Looks nice, but this is nothing close to Esterhazy, the original does not have tapioca flour, espresso nor tartar. And the original Esterhazy has a layer of apricot jam with rum in between the hazelnut meringue and vanilla buttercream.